
How to use Native Media Retargeting?
Retargeting is used to increase the conversion of advertising campaigns.
This useful option allows the campaign to be re-displayed to a user who has already interacted with it. And the Native Media platform offers this option to its advertisers.
So if someone clicked on your campaign but hasn’t taken any concrete action yet – hasn’t ordered a product or anything like that – the retargeting will allow that the same person will be shown the campaign a few more times. Because if the user has interacted with your campaign it means they’re interested in the product you’re promoting, even though they may not have bought it right away. If you show him your campaign two or three more times, the user in question is more likely to buy the product.
Procedure
To get started, place a retargeting pixel on your site. To do this, log in to your profile, select the ADS / RETARGETING option.
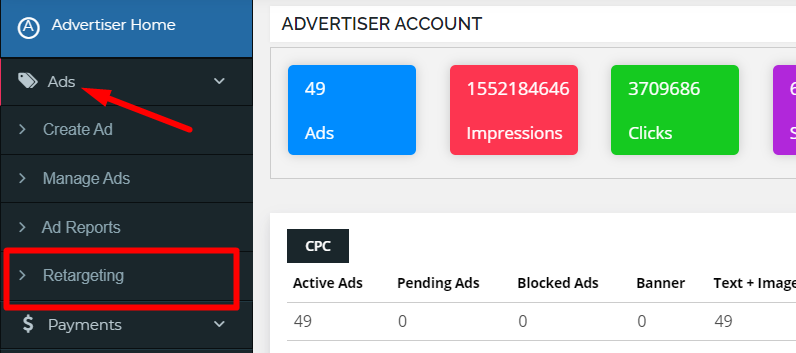
Clicking on Retargeting will open a new window in which you will select the ADD SITE option. It is in the top right corner.
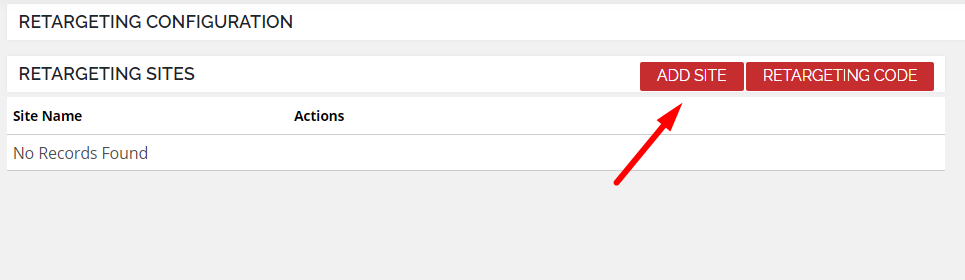
Then a field opens to you to type the name of your site (for example, yoursite.com). Then click SUBMIT!
You will see that your site has appeared in the list in RETARGETONG CONFIGURATION. In the ACTIONS section, click the green icon to create the “list”. A field will open where you need to enter the name of the list and the URL of the page where you are promoting the product.
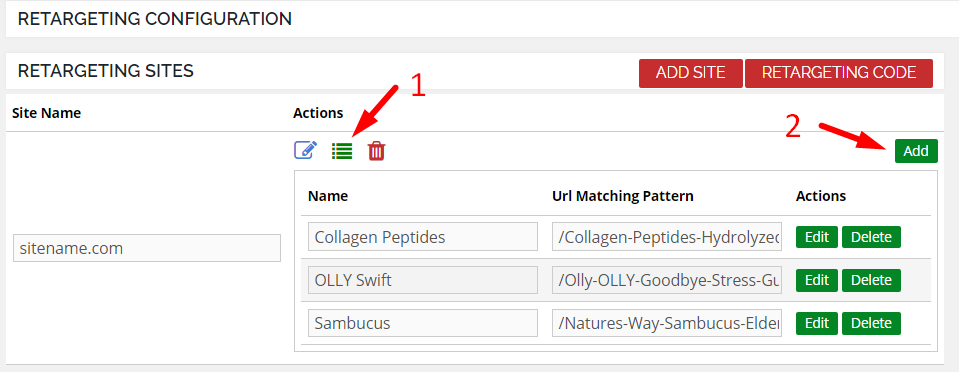
For one site it is possible to make multiple lists, which is especially useful. This way, you can promote multiple products from the same site. For each product, create a separate list individually, thus retargeting the audience.
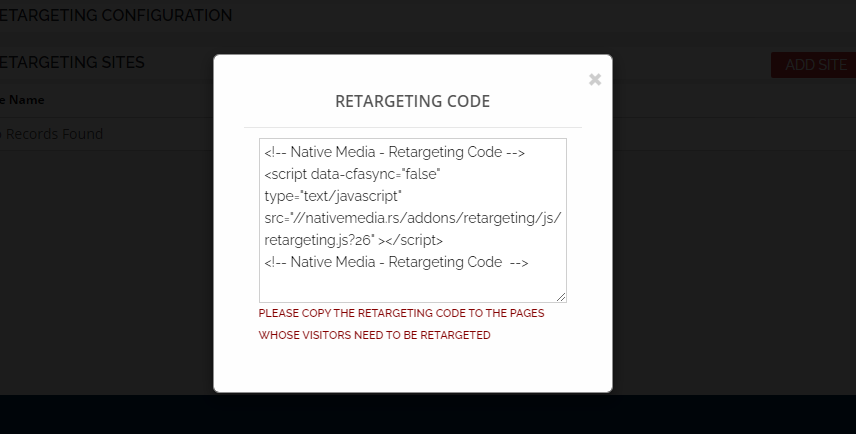
The next step is to download the retargeting pixels. The option is also located in the upper-right corner.
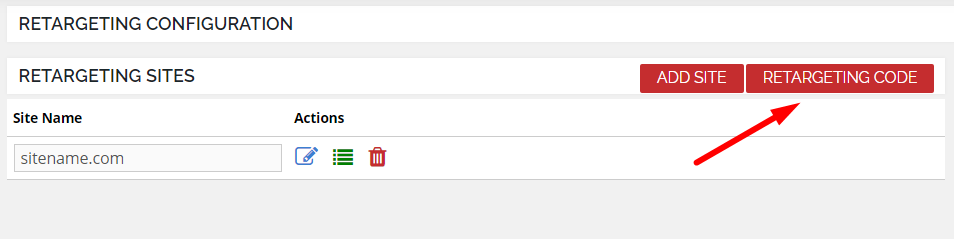
Clicking on this option will give the platform your retargeting pixel to insert on your site. The pixel is placed in the site header between the <head> and </head> tags.
The retargeting process does not end here!
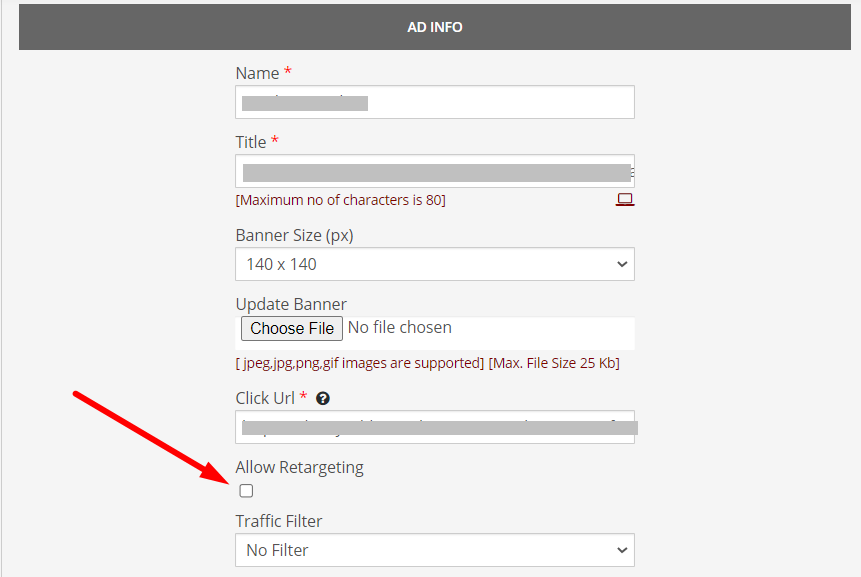
When you insert a pixel into your site, you can normally create campaigns and let them broadcast. When creating each campaign, it is important to check the ALLOW RETARGETING option. It is located on Step 1.
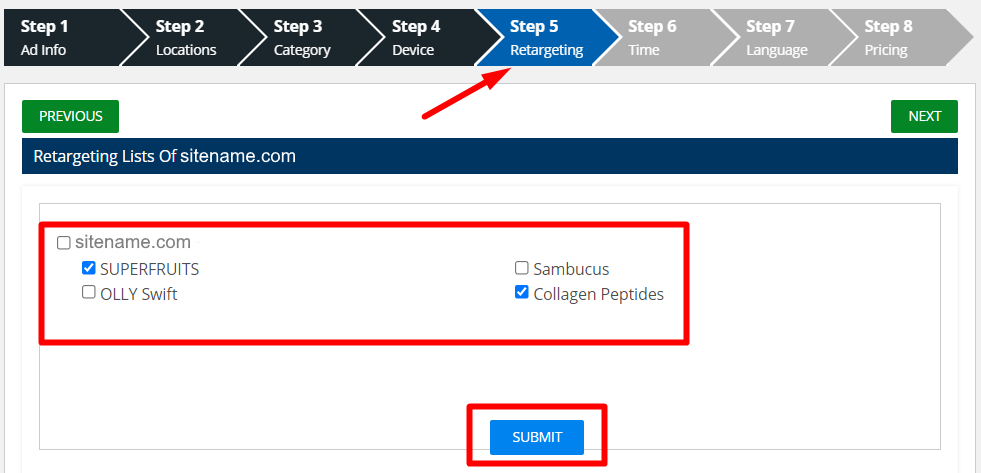
Then re-enter that same campaign. Now, instead of 7, you have eight steps in your campaign settings. You’ll notice the new Step 5 – RETARGETING. Click that field.
The lists you created on the retargeting configuration page will appear here, highlight the list of the audience you want to retarget, and then click SUBMIT.
When you have finished updating your campaign, and our moderators have approved it, it will start broadcasting and retargeting.
The retargeted campaign will be shown to one retargeted user for up to 5 days, i.e., it will have priority with showing in relation to the others. It will stop after 5 days, but by then you will definitely have new users to retarget.

