How do you become a publisher on Ad Nativia?
To become a publisher on the Ad Nativia and thus make money from visiting your site, first register by clicking on this link.
A form opens for you to type your data into. All fields marked with an asterisk (*) must be filled in.
In the ACCOUNT INFORMATION section, you will type:
- Username
- Password
- Confirm Password
- Account type – you will be offered an automatic PUBLISHER.
In the PERSONAL INFORMATION section there is a couple of your data:
- First Name
- Last Name
- Address
- Phone No
- Country

All you have to do is insert a link to your site / blog / portal and optionally insert a logo.
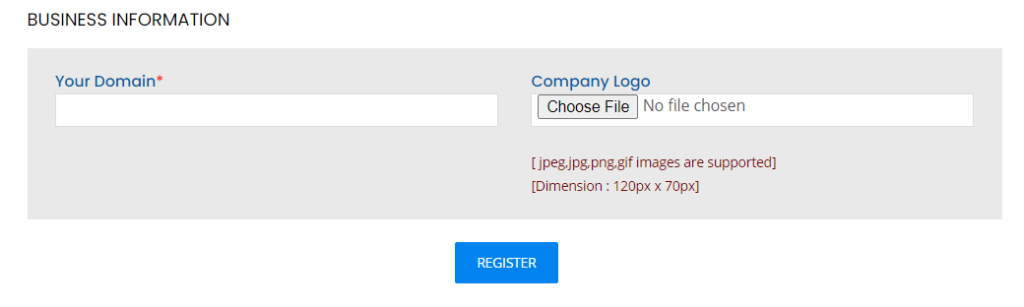
Finally click on REGISTER! You will receive an activation link to the email you provided in the form. Click on it, log in to the platform and the registration process is officially over.
Connect your site to Ad Nativia
When you enter your profile, select the SITES / ADD SITE option from the menu on the left. A window will open in which you need to enter the following information:
- Mark your site category: Nutrition & Culinary, Games & Entertainment, Beauty & Health, Lifestyle, etc.
- Language
- Link to your website
- Site name ( optional )
- Description ( optional )
- Logo ( optional )
Finally, click SUBMIT. It is allowed to add multiple sites, so you can repeat the procedure as many times as you want.
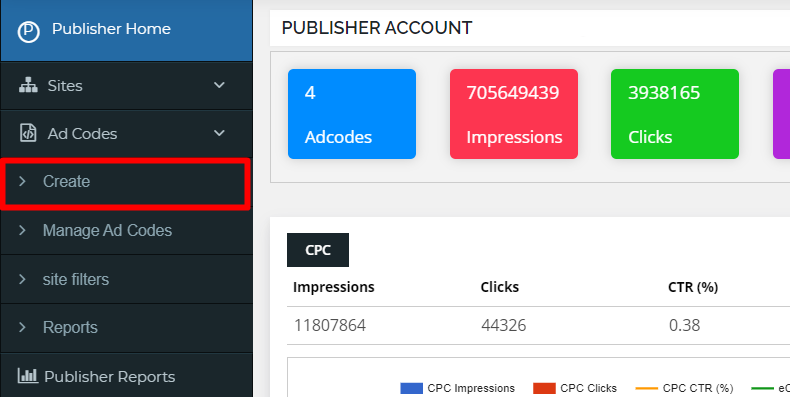
Then return to the menu on the left and choose AD CODES / CREATE.
A new window opens with a form to fill out:
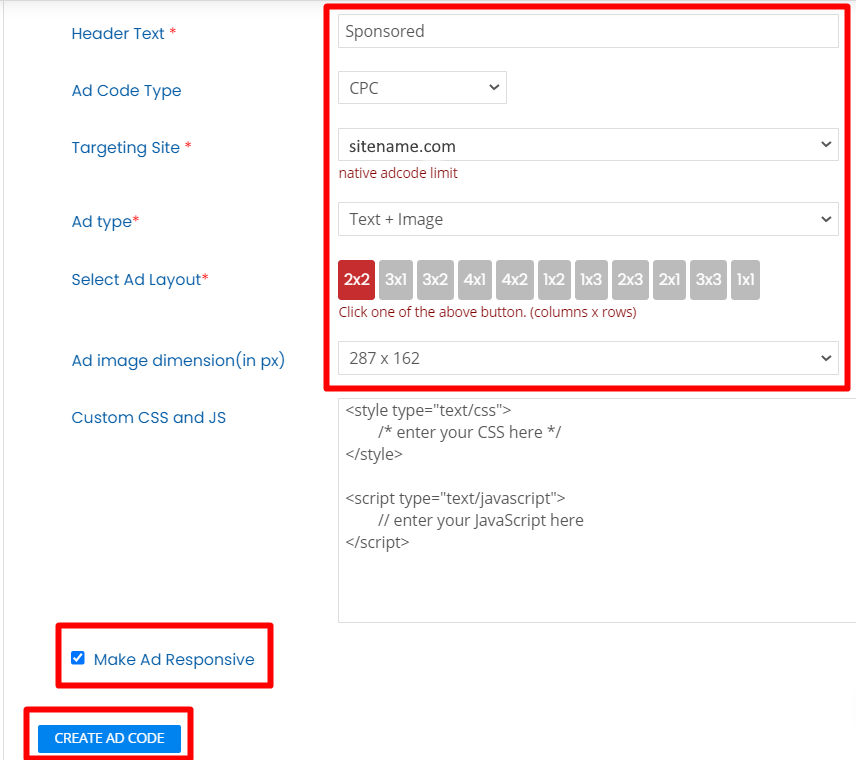
- The HEADER TEXT and AD CODE TYPE fields are set up automatically.
- In the TARGETING SITE field, choose the site you want on the first step over the drop-down menu.
- In the AD TYPE field, also choose TEXT + IMAGE on the drop-down menu
- Finally, check MAKE AD RESPONSIVE to fit the banners into your site, and then confirm everything to CREATE AD CODE.
Eventually you will receive the code (i.e. JavaScript) that you should post on your website.
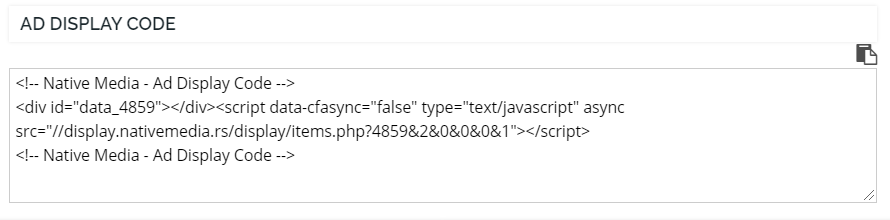
To insert a code on your site, you need certain add-ons or plugins. An Ad Inserter is used for WordPress. After installation, you will be offered a separate window to insert this link into, thus finishing connecting your site and Ad Nativia profile.
We explained the procedure in more detail in our article
Finally, arrange the design of the banner.
Return to your Ad Nativia profile in MANAGE AD CODES.

It’s important to adjust the appearance of the widget. Our proposal is 2×2 (two banners in the top row and two in the bottom row), but you can choose according to your own will according to the design of the site.
Choose which banner dimensions you want to display. It offers larger (287×162) and a smaller banner (140×140).
The position of the ad is also an important factor and often affects the number of clicks. Set up whether you want banners to appear at the top of your site, in the middle of text, at the bottom, and so on. Our suggestion is that the banners be at the bottom of the site. It’s effective, and it won’t bother readers by smashing their text. Just when they’re done reading one text, they’ll see the banner and want to go to the other by clicking on the ad.
You can also set up some finesses, such as color, frames, etc. if you want. Finally confirm everything on UPDATE AD CODE and verify that the banners have appeared on your website.

